
Good Form Questions in Jira: Part 1
Questions, and the input fields that collect their answers, are the heart of every form. Getting your questions right, will […]
Questions, and the input fields that collect their answers, are the heart of every form. Getting your questions right, will […]
There are two things we know for sure about forms – One: everyone fills out forms, and two: no one
Let’s just admit it. Forms aren’t sexy. They aren’t exciting or innovative. Few people would call them fun. They are,
In 2017, ThinkTilt and Rachel Wright teamed up with the goal of helping business teams get more out of Jira

As a Jira administrator you should choose your custom fields carefully. Too many fields are a headache to maintain. In
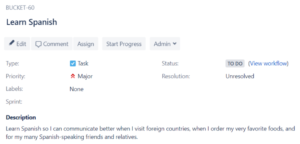
¿Hablas español? I don’t but I really wish I did! In fact, “Learn Spanish” is issue BUCKET-60 on my Jira
I’ll admit that I didn’t expect to like next-gen projects, Atlassian’s answer to making Jira more simple, and creating self-contained projects
Atlassian’s introduction of “Next-gen” projects in Jira Cloud represents a paradigm shift in the way they build and deliver features.
You did it! You audited, deleted, merged and substituted and now your Jira instance only has the custom fields it should have. Congratulations – that was hard