
Jira Views and Reporting Methods
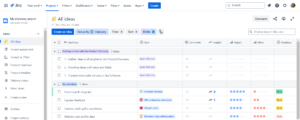
Jira’s reporting capabilities are super powerful! There are many ways to view, present, and share issue data and progress. Here’s […]
Jira’s reporting capabilities are super powerful! There are many ways to view, present, and share issue data and progress. Here’s […]
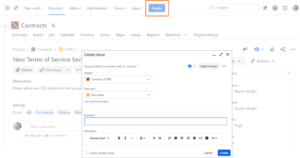
Did you know there are multiple ways to create Jira issues? Most users know about the “Create” button at the
Articles and content for Jira administrators about Jira Software, Jira Service Management, and Confluence.
Today I had a conversation with a former colleague who reminded me of when all team correspondence was over email,
In January 2024, Atlassian rolled out a new strategy for issue and Epic use in Jira Cloud. The Epic link
When Jira was first released in 2002, it was purely for software development. Fast-forward 20+ years and things have certainly
Mistakes in Jira administration are learning opportunities. Here’s an example of one of my incorrect assumptions and what new settings are actually added when Jira Product Discovery projects are created.
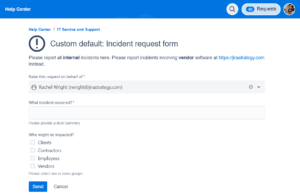
Create custom request type templates for Jira Service Management to streamline support procedures and maintain project consistency.
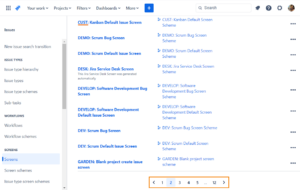
Create custom, reusable screens to simplify the Jira configuration, maintain consistency between projects, and simplify the fields presented to users.