A test environment is a vital asset for any Jira administrator. It’s easy to create your own Jira Server or Data Center sandbox for experimentation. You can install Jira on a proper server or on an old laptop under your desk. Here’s how.
Contents:
- Step 1: Download Installer
- Step 2: Run Installer and Select Options
- Custom Installation Options
- Jira Installation Tips
Note: Atlassian stopped selling new licenses of Server products in February 2021 and support ended in February 2024. But I know some of you are still using Server right now and for a variety of reasons, will continue to use it for some time. Luckily, the installation process for Server is the same as Data Center. The difference is licensing and of course, Data Center has additional features for enterprise environments.
Step 1: Download Installer
Download the desired Jira Software version from: https://www.atlassian.com/software/jira/update
Atlassian offers installer files for OS X, Linux, and Windows. There are also TAR.GZ and a ZIP archive formats.
Tips:
- There’s no specific installer for the Data Center deployment type. Simply install the Server type and add a Data Center license key to unlock Data Center capabilities.
- Atlassian supplies “developer” licenses for non-production installations.
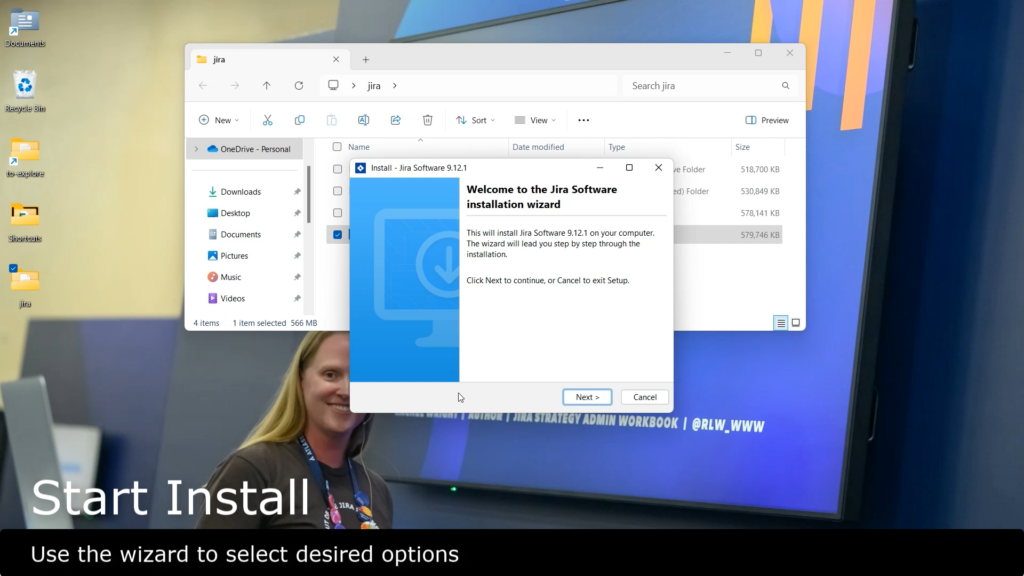
Step 2: Run Installer and Select Options
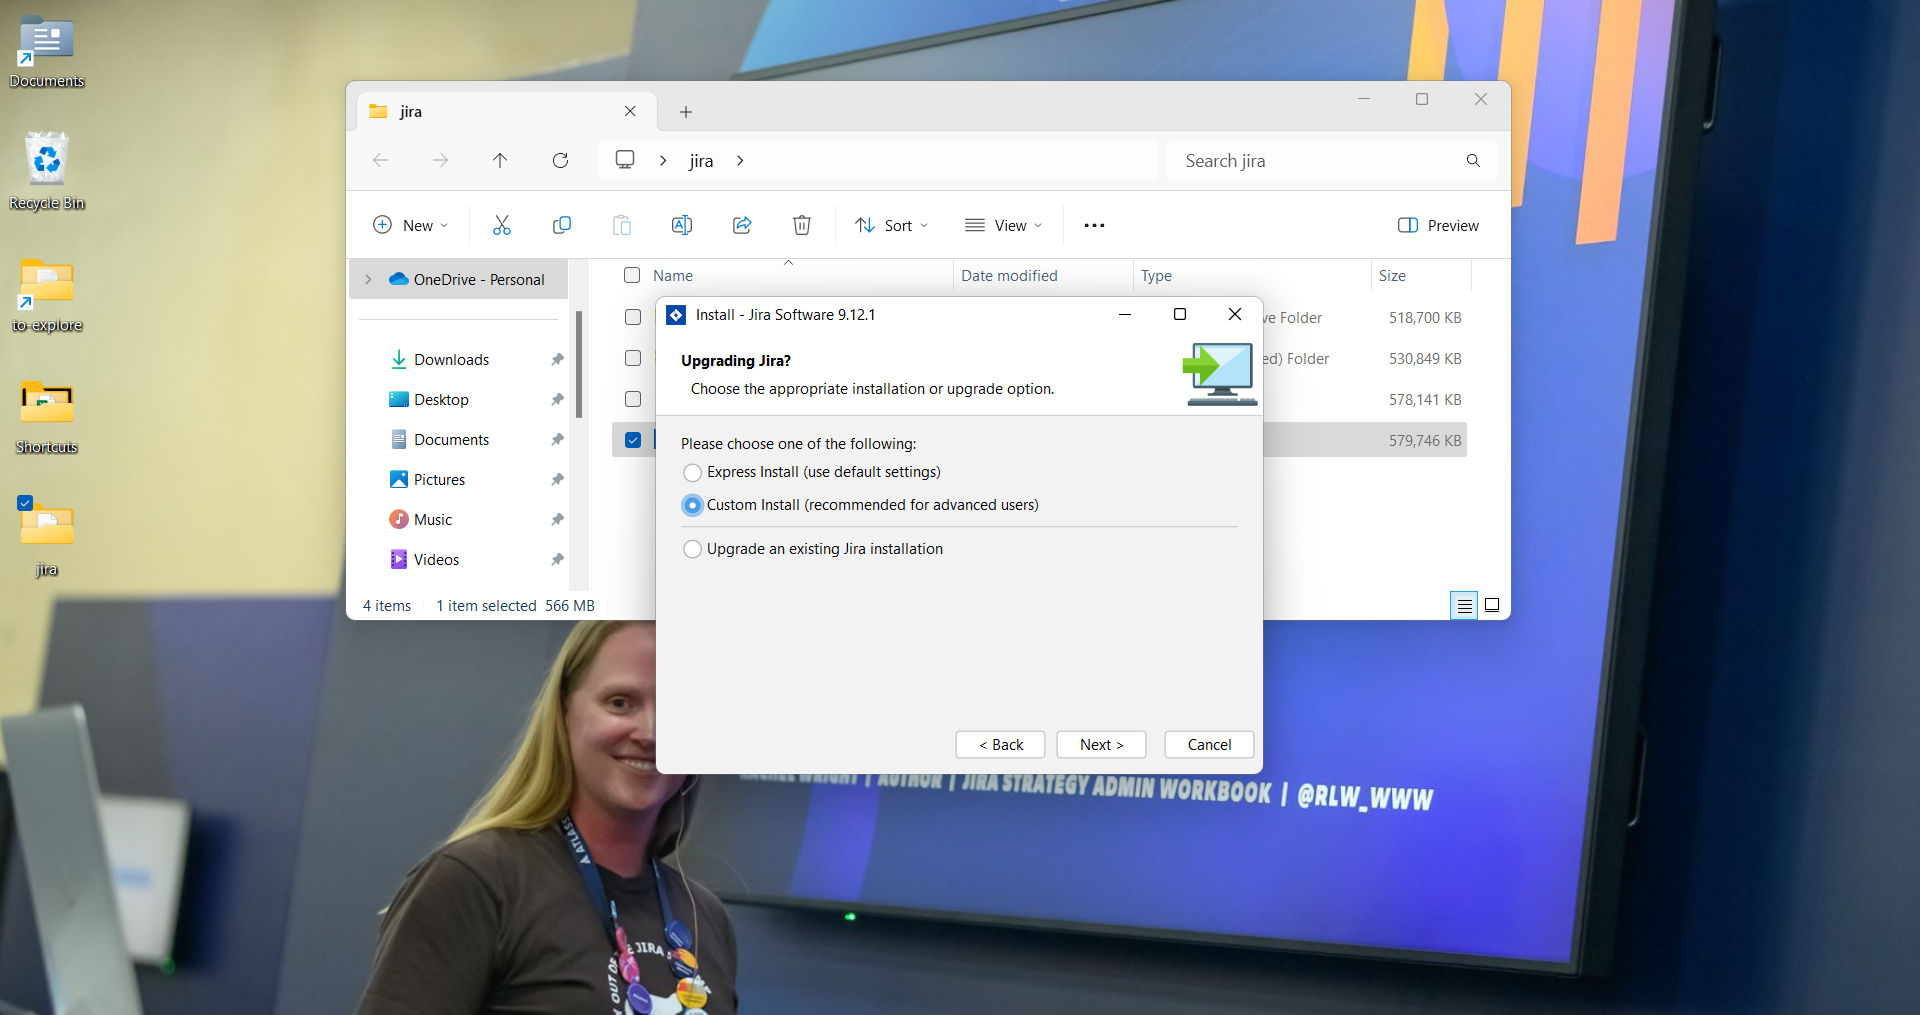
The installation wizard offers “Express Install” and “Custom Install” options.
Here’s a quick demo of installing Jira on a Windows computer with the default “Express Install” settings. I recorded this so you could see the wizard’s steps before running it yourself.
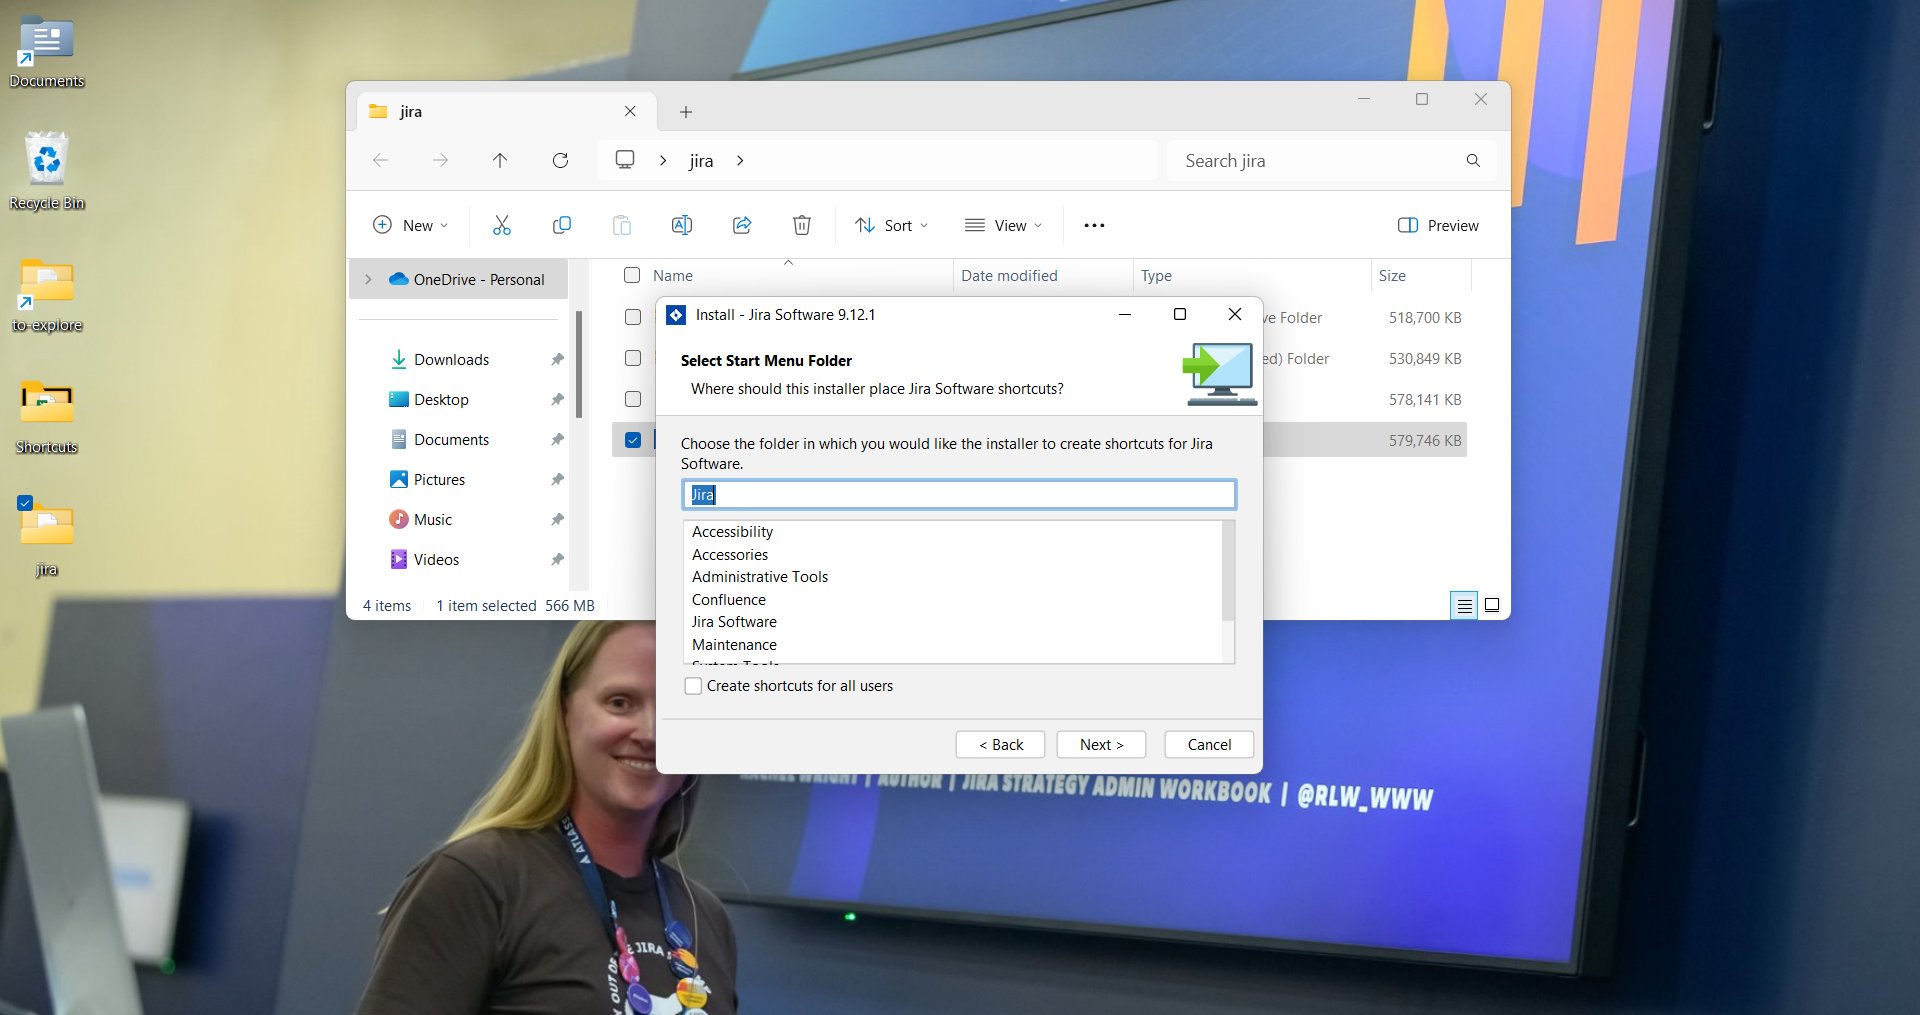
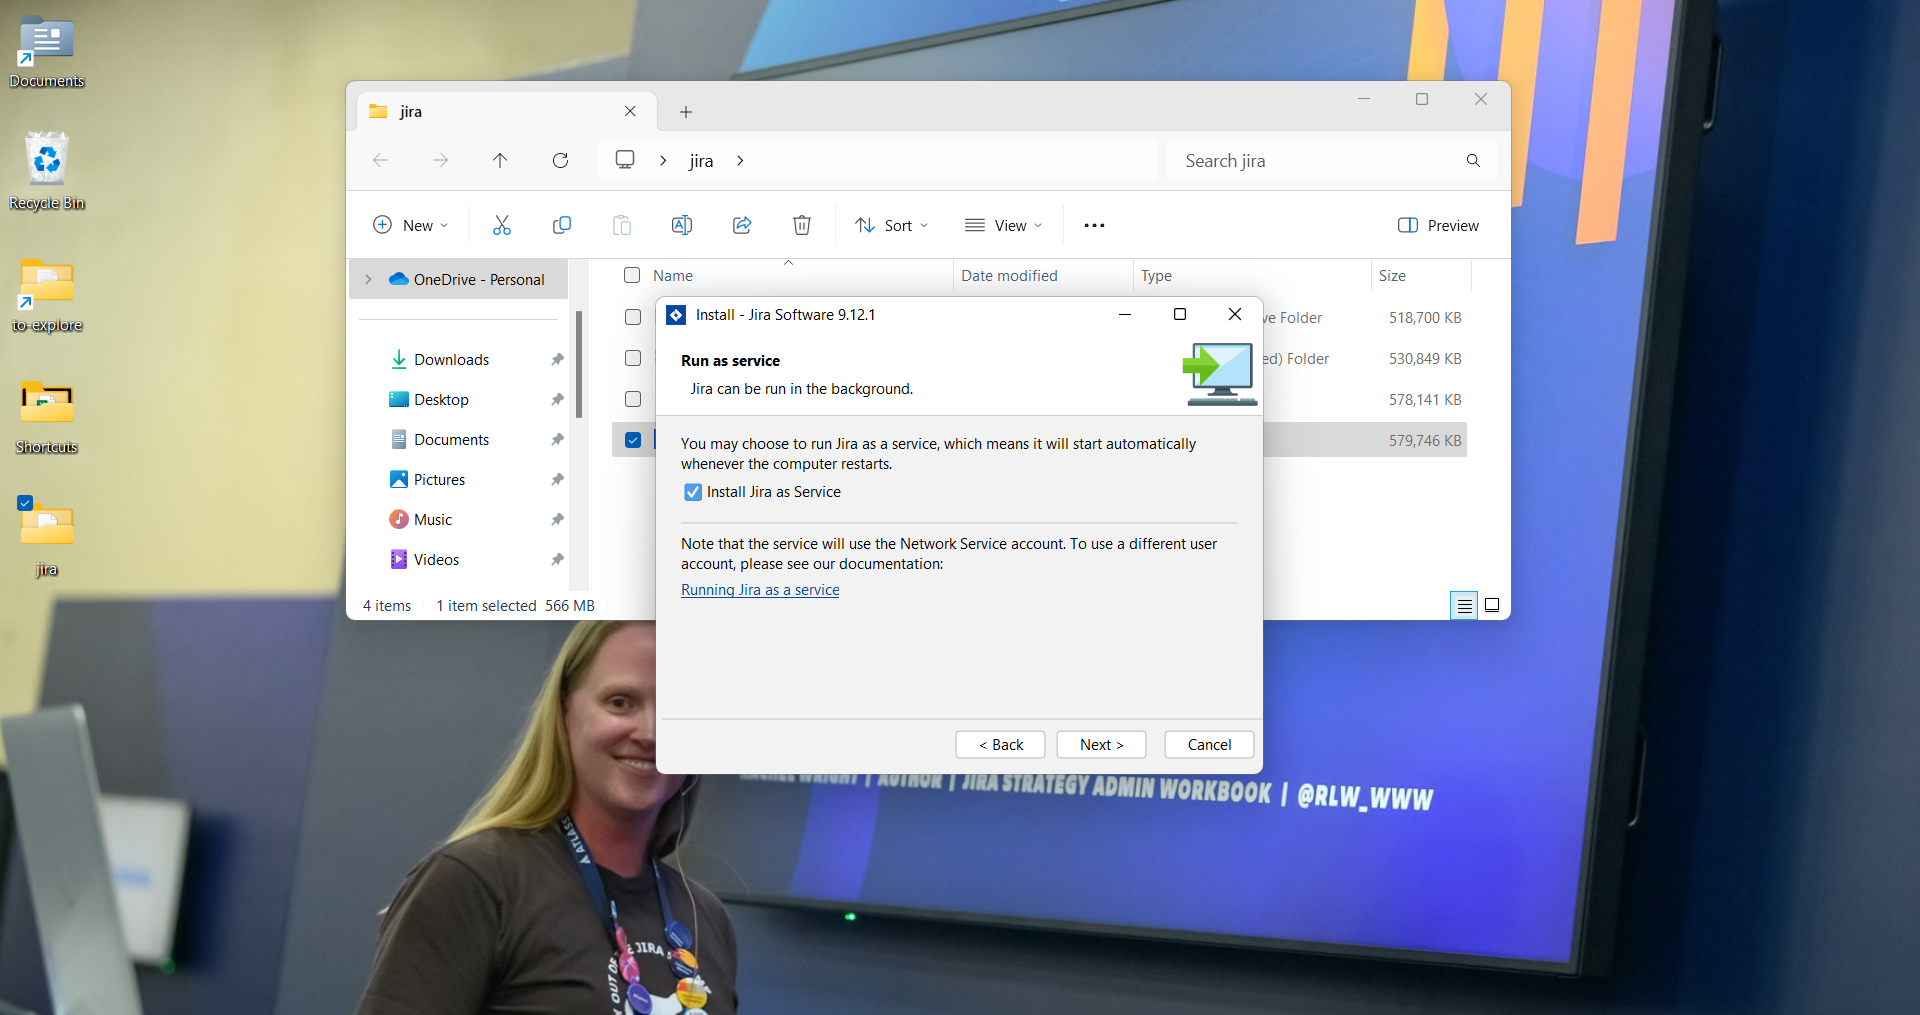
Custom Installation Options
Choose the “Custom Install” option instead to select the installation directory, storage location for attachments, XML backups, plugins, and indexes, the application shortcut name and location, HTTP and Control ports, and whether to automatically start Jira as a service whenever the computer restarts.


Jira Installation Tips
Previous Installations
If you’ve installed Jira on the same machine before, make sure to remove all previous files and settings to avoid installation errors.
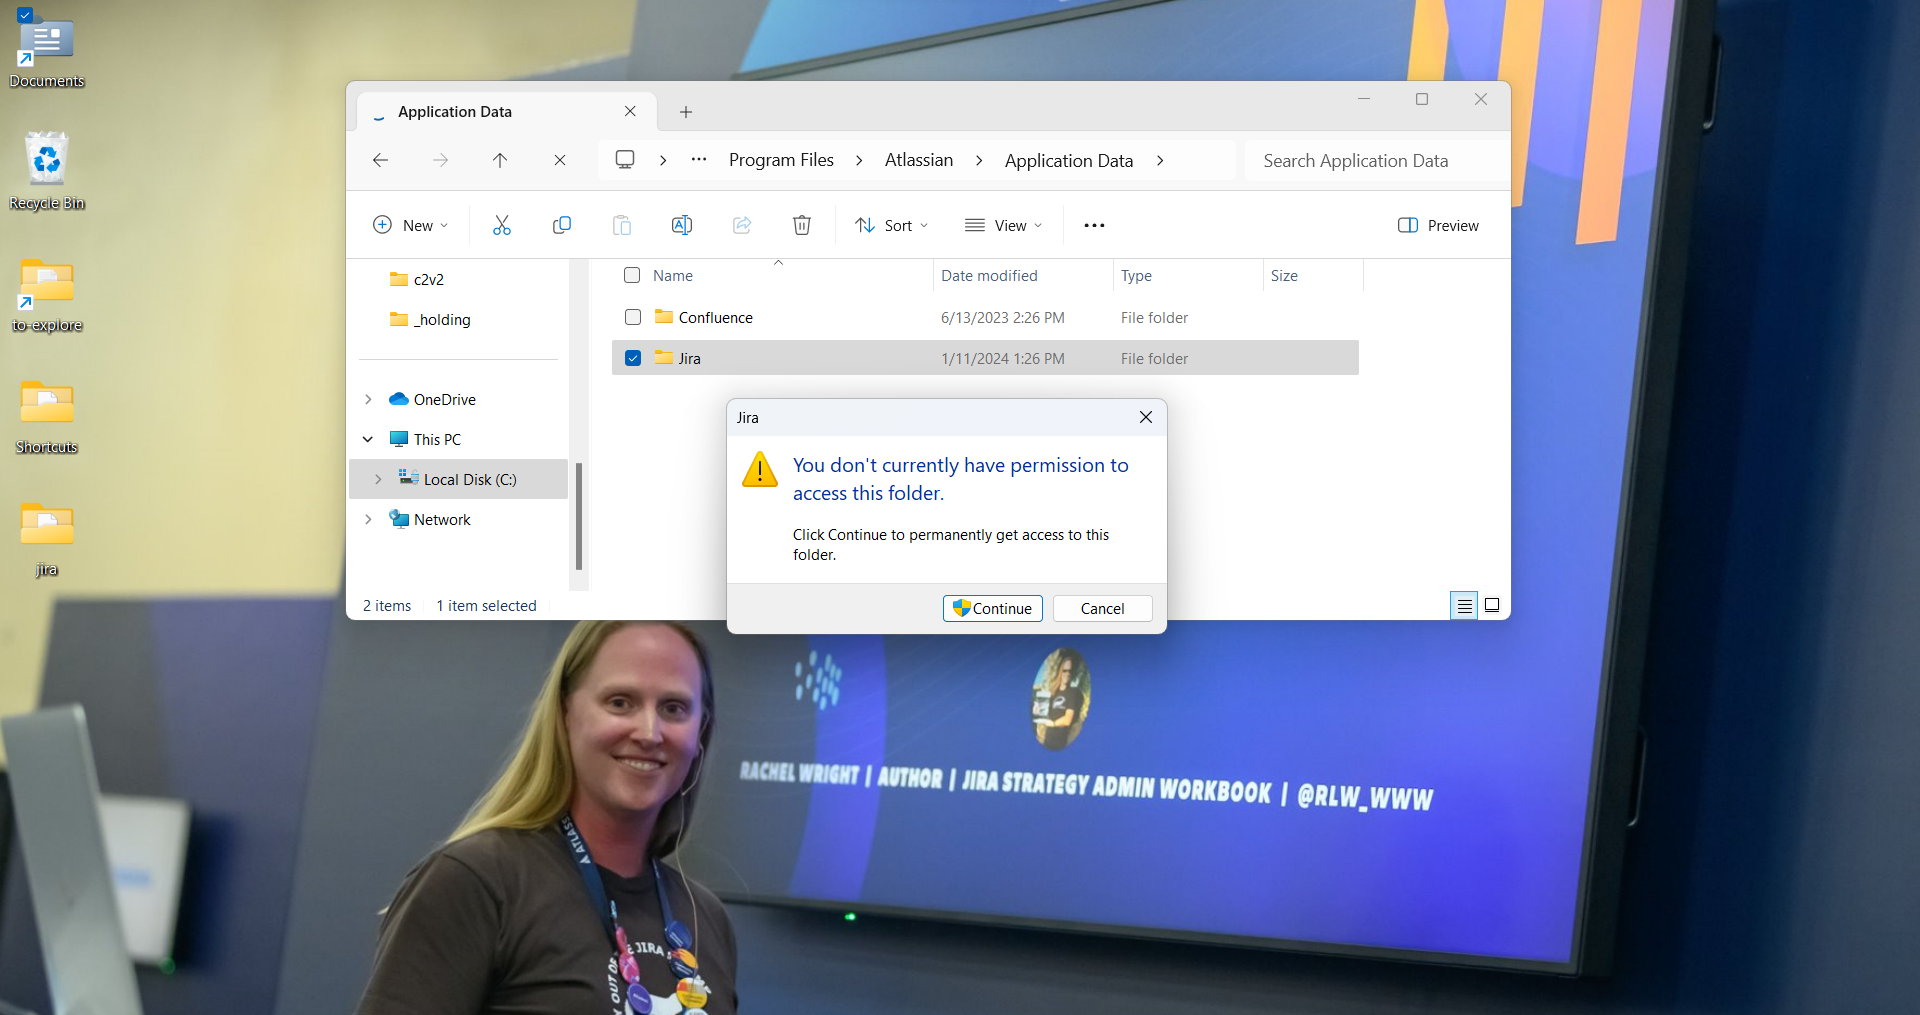
File Access
The default installation directory is C:\Program Files\Atlassian\Jira. The default home directory is: C:\Program Files\Atlassian\Application Data\Jira. You may need to grant yourself access to these folders.
Default Ports
The default TCP ports are 8080 (HTTP) and 8005 (Control). If you’re running other applications (e.g. Confluence), avoid conflicts by selecting unique ports for Jira.
Launch Jira in a Browser
The default Jira application access URL is: http://localhost:port-number. E.g. http://localhost:8080. It may take multiple minutes to load the application the first time is starts and after a restart.
Manage the Service
Stop, start, and restart Jira using the Windows Services utility. Access it by typing Win + R and entering services.msc in the “Run” text box. In the Services window, right click on “Atlassian Jira” to access the options.

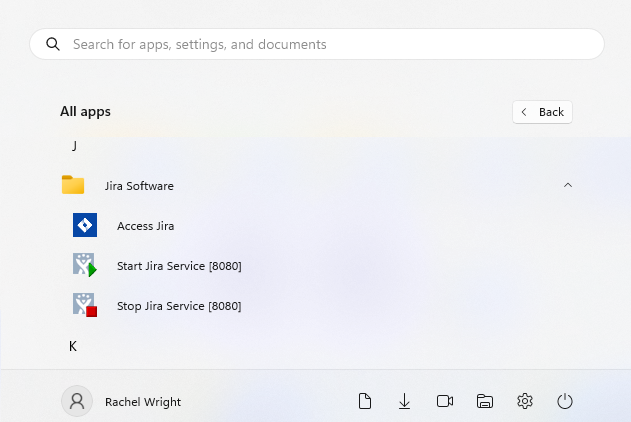
You may also have “Access Jira”, “Start Jira Service”, and “Stop Jira Service” shortcuts in your Windows start menu.